ENavFit emerges as a comprehensive digital companion, mirroring the dynamic world of auctions and specialized collections, much like Zwiggelaar Auctions B.V.
This platform, launching amidst a flurry of activity – from June 2024 events to December 2025 listings – aims to streamline personal wellness journeys.
It’s designed for individuals seeking a structured approach to fitness and nutrition, drawing parallels to the meticulous cataloging of books, prints, and fine arts.
ENavFit provides tools for tracking progress, planning meals, and accessing a diverse library of workouts, akin to exploring curated auction sessions.
The platform’s functionality extends to data analysis and community engagement, fostering a supportive environment for achieving health goals, similar to a vibrant auction house.
What is ENavFit?
ENavFit is a holistic digital platform meticulously designed to empower users on their personal wellness journeys. Much like the detailed catalogs of Zwiggelaar Auctions B.V., showcasing books, prints, and fine arts, ENavFit presents a comprehensive suite of tools for achieving health and fitness goals.
At its core, ENavFit functions as a personalized health hub, integrating fitness tracking, nutrition planning, and workout customization into a single, user-friendly interface. It’s built upon the principle of providing actionable insights, mirroring the careful assessment of value in auction items.
The platform’s development coincides with a period of increased digital engagement, evidenced by auction events spanning from June 2024 to December 2025. ENavFit aims to capitalize on this trend by offering a dynamic and responsive experience, adapting to individual needs and preferences. It’s more than just an app; it’s a digital partner in wellness.
ENavFit is designed to be accessible and intuitive, ensuring a seamless experience for users of all fitness levels.
Key Features and Benefits
ENavFit boasts a robust set of features designed to optimize your wellness experience, akin to the diverse offerings at Zwiggelaar Auctions B.V., from rare books to contemporary art. Core functionalities include precise fitness tracking, monitoring activity levels, and providing detailed performance metrics.
The integrated nutrition planning module allows for personalized meal plans, dietary tracking, and macro management, supporting informed food choices. A comprehensive workout library, adaptable to all fitness levels, offers guided exercises and customization options.
Beyond these core features, ENavFit seamlessly integrates with wearable devices, ensuring continuous data collection and analysis. Benefit from detailed progress reports, identifying trends and areas for improvement, mirroring the expert assessments in auction catalogs. The platform also fosters a supportive community, enabling social sharing and motivation, much like the engagement surrounding auction events from June 2024 to December 2025.
Ultimately, ENavFit empowers users to take control of their health and achieve lasting results.
Getting Started with ENavFit
Embarking on your ENavFit journey is simple, mirroring the ease of browsing Zwiggelaar Auctions’ online catalogs from December 2025.
Initial steps involve creating an account and logging in, unlocking a world of personalized wellness tools.
Prepare to navigate a user-friendly interface designed for seamless exploration.
Account Creation and Login
Creating your ENavFit account is the first step towards a healthier you, much like registering interest in a Zwiggelaar Auctions session.
Navigate to the signup page and provide a valid email address, creating a secure password – essential for protecting your personal data.
You’ll be asked to provide basic information, such as your age, gender, height, and weight, which helps personalize your fitness and nutrition plans.
After submitting the form, you’ll receive a verification email; click the link to activate your account.
Logging in is straightforward: enter your registered email and password on the login page.
If you forget your password, utilize the “Forgot Password” link to reset it via email.
For enhanced security, consider enabling two-factor authentication, adding an extra layer of protection to your account.
Remember to keep your login credentials confidential, similar to safeguarding bidding details at an auction.
Once logged in, you’ll have full access to ENavFit’s features and personalized dashboard.
Navigating the ENavFit Interface
The ENavFit interface is designed for intuitive use, mirroring the organized layout of auction catalogs like those from Zwiggelaar Auctions B.V.
Upon logging in, you’ll land on your personalized dashboard, providing a snapshot of your progress and key metrics.
The main navigation menu, typically located on the left or top, grants access to core modules: Fitness Tracking, Nutrition Planning, and Workout Library.
Each module features a clear and concise layout, with easy-to-understand charts and graphs visualizing your data.
Use the search bar to quickly locate specific workouts, recipes, or articles.
The settings menu allows you to customize your profile, adjust notification preferences, and manage connected devices.
Explore the help section for frequently asked questions and troubleshooting tips.
The interface is responsive, adapting seamlessly to different screen sizes – from desktops to mobile devices.
Familiarize yourself with the icons and labels to efficiently navigate the platform and unlock its full potential.
Understanding ENavFit Modules
ENavFit boasts three core modules – Fitness Tracking, Nutrition Planning, and Workout Library – functioning like specialized auction sessions, offering diverse options.
These interconnected components empower users to holistically manage their wellness, mirroring curated collections.
Each module provides unique tools for achieving personalized health goals.
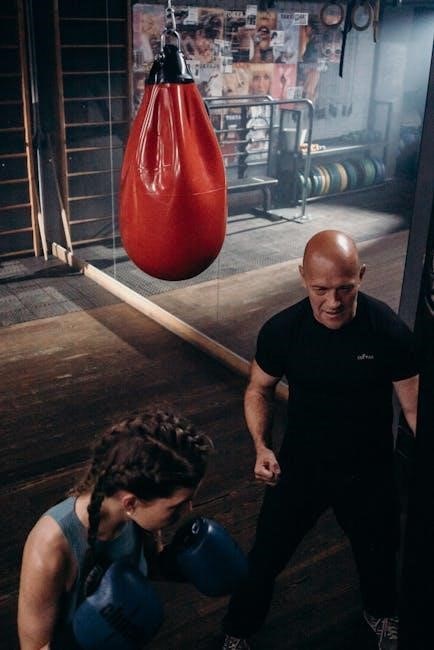
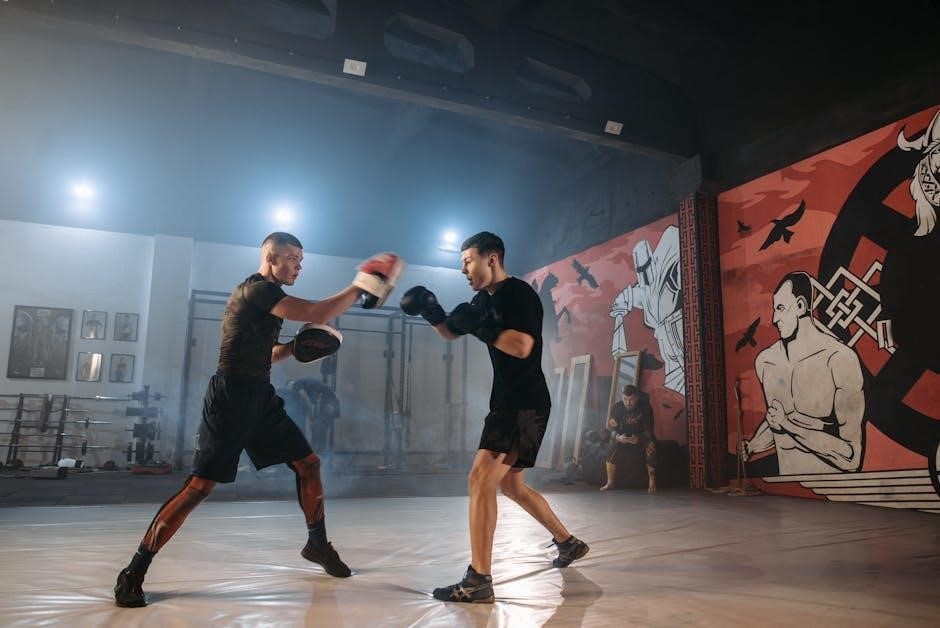
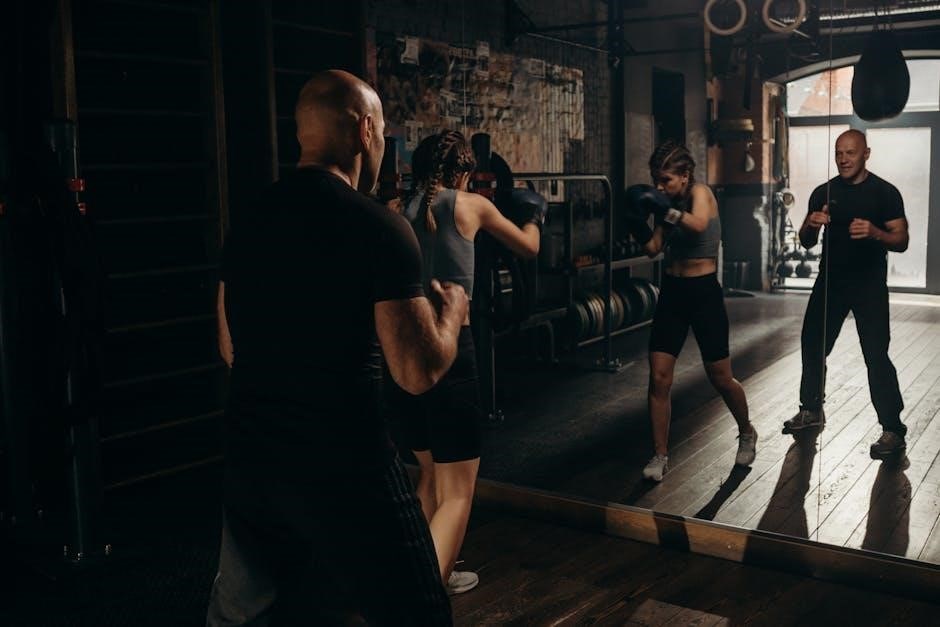
Fitness Tracking Module
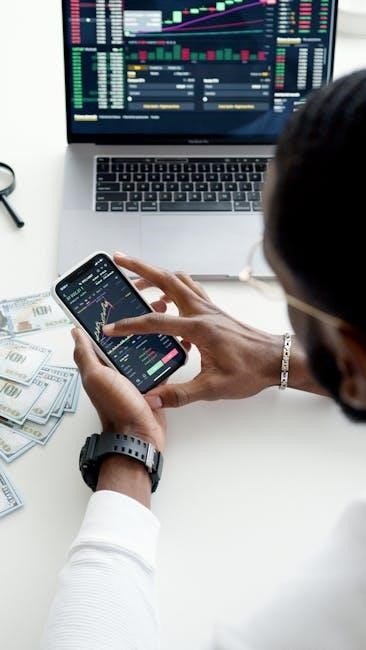
The Fitness Tracking Module serves as the central hub for monitoring your physical activity, much like a detailed auction catalog meticulously records each item’s provenance.
Users can manually log workouts – specifying activity type, duration, and intensity – or seamlessly synchronize data from compatible wearable devices, mirroring the real-time updates of auction bids.
ENavFit tracks key metrics such as steps taken, distance covered, calories burned, and active minutes, providing a comprehensive overview of daily movement.
The module also incorporates goal-setting features, allowing users to establish personalized targets for various fitness parameters, similar to setting price expectations for valuable collectibles.
Progress is visualized through interactive charts and graphs, offering insights into trends and achievements, akin to analyzing auction sales data over time.
Furthermore, the module supports the tracking of specific exercises, enabling users to monitor their performance and identify areas for improvement, much like an expert appraising an artwork’s condition.
This detailed tracking fosters accountability and motivates users to maintain a consistent fitness routine.
Nutrition Planning Module
The Nutrition Planning Module empowers users to take control of their dietary habits, functioning like a curated collection of rare books – each recipe a valuable find.
Users can log their daily food intake, specifying portion sizes and nutritional information, or select from a vast database of pre-populated food items, mirroring an auction house’s detailed inventory.
ENavFit calculates macronutrient breakdowns (proteins, carbohydrates, and fats) and tracks calorie consumption, providing a clear picture of dietary balance, similar to assessing an artwork’s composition.
The module facilitates meal planning, allowing users to create customized meal plans based on their individual goals and preferences, akin to curating a themed auction session.
It also offers recipe suggestions and nutritional guidance, supporting informed food choices, much like an expert advising on a collectible’s value.
Users can set dietary restrictions and preferences, ensuring the module aligns with their specific needs, mirroring the specialized focus of Zwiggelaar Auctions.
This module promotes mindful eating and supports a healthy lifestyle.
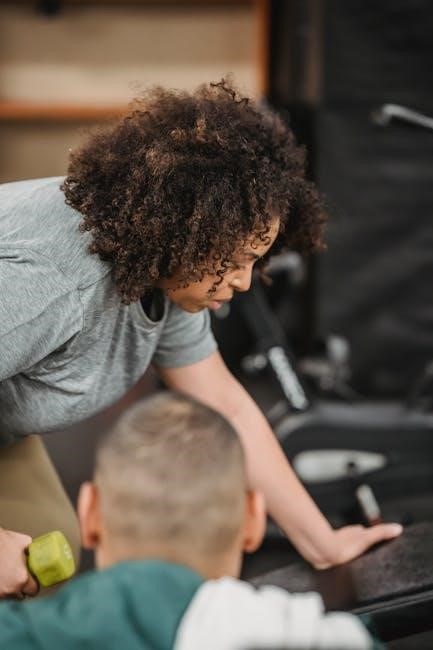
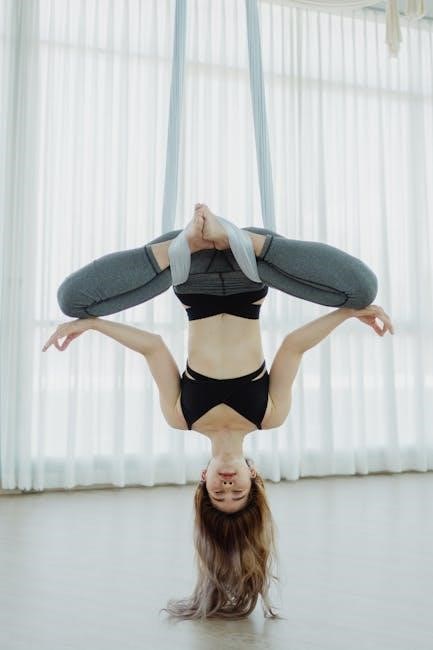
Workout Library & Customization
The Workout Library & Customization feature is a dynamic resource, akin to the diverse offerings at Zwiggelaar Auctions – from fine arts to comics, catering to varied tastes.
Users gain access to a comprehensive library of pre-designed workouts, categorized by fitness level, muscle group, and workout type, mirroring a well-organized auction catalog.
These workouts include detailed instructions, video demonstrations, and suggested equipment, ensuring proper form and technique, similar to an expert’s description of an artwork.
ENavFit allows users to customize existing workouts or create their own from scratch, tailoring routines to individual needs and preferences, like curating a personal collection.
Users can adjust sets, reps, and rest times, and select from a wide range of exercises, fostering a personalized fitness experience, much like bidding on a desired item.
The module supports various workout styles, including strength training, cardio, and flexibility exercises, mirroring the diverse categories at auction.
This feature empowers users to achieve their fitness goals effectively;
Advanced ENavFit Features
ENavFit’s advanced capabilities, like Zwiggelaar Auctions’ detailed cataloging, offer seamless wearable integration, insightful data analysis, and vibrant community features for optimal results.
These tools empower users to elevate their wellness journey, mirroring the excitement of discovering a rare find.
Integration with Wearable Devices
ENavFit seamlessly connects with a wide array of wearable devices, functioning much like a detailed auction catalog that meticulously lists each item’s provenance.
This integration allows for automatic synchronization of fitness data, including steps taken, distance traveled, calories burned, and heart rate – mirroring the precise record-keeping of Zwiggelaar Auctions.
Supported devices currently include popular brands like Fitbit, Apple Watch, Garmin, and Samsung, ensuring broad compatibility for users.
The connection process is straightforward, typically involving granting ENavFit access to your wearable’s data through a secure authorization process.
Once connected, data is automatically uploaded to your ENavFit profile, providing a comprehensive overview of your daily activity levels.
This real-time data stream enables more accurate tracking of progress and personalized insights, similar to assessing the value of a rare book or artwork.
Users can also customize which data points are synced, tailoring the experience to their specific needs and preferences.
Troubleshooting connectivity issues is addressed in the dedicated support section, ensuring a smooth and reliable experience.
Data Analysis and Progress Reports
ENavFit transforms raw fitness data into actionable insights, much like an auction house expertly assesses the condition and value of collectibles, such as those handled by Zwiggelaar Auctions B.V.
The platform’s robust data analysis tools provide a clear visualization of your progress over time, using charts and graphs to highlight trends and patterns.
Users can track key metrics like weight loss, muscle gain, and improvements in cardiovascular fitness, mirroring the detailed documentation of auction items.
Personalized progress reports are generated automatically, offering a comprehensive overview of your achievements and areas for improvement.
These reports can be customized to focus on specific goals, such as running a marathon or achieving a target weight.
ENavFit also provides comparative data, allowing you to benchmark your performance against others in the community.
This feature fosters motivation and encourages healthy competition, similar to the excitement of a live auction.
Data is securely stored and protected, ensuring your privacy is maintained at all times.
Community Features and Social Sharing
ENavFit fosters a supportive and engaging community, reminiscent of the vibrant atmosphere surrounding auctions like those hosted by Zwiggelaar Auctions B.V., where enthusiasts connect over shared interests.
Users can connect with friends, family, and other ENavFit members to share their progress, exchange tips, and provide encouragement.
Dedicated forums and groups allow for discussions on various fitness and nutrition topics, mirroring the specialized categories within an auction house.
The platform’s social sharing features enable you to easily share your achievements on social media platforms.
Celebrate milestones and inspire others with your fitness journey, just as auction houses showcase their prized possessions.
ENavFit also hosts virtual challenges and competitions, adding a fun and competitive element to your workouts.
These events provide opportunities to connect with others and push yourself to achieve new goals.
Privacy settings allow you to control who can see your activity and personal information, ensuring a safe and comfortable experience.
Troubleshooting Common Issues
ENavFit, like any digital platform – even auction catalogs from Zwiggelaar Auctions B.V. – can encounter glitches.
This section addresses frequent problems, offering solutions for connectivity and data synchronization errors.
We’ll guide you through resolving these issues to ensure a seamless experience.
Connectivity Problems
ENavFit relies on a stable internet connection to function optimally, much like accessing detailed auction information from Zwiggelaar Auctions B.V. online.
If you experience difficulties, first verify your Wi-Fi or cellular data is active and strong.
Attempt restarting the ENavFit application; this often resolves temporary glitches.
Check your device’s settings to ensure ENavFit has permission to access the internet.
If problems persist, clear the app’s cache – this removes temporary files that might be causing conflicts.
Occasionally, server maintenance, similar to scheduled auction sessions, may cause brief interruptions.
Consult the ENavFit status page (if available) for updates on server availability.
For persistent connectivity issues, try switching between Wi-Fi and cellular data to isolate the problem.
Ensure your device’s operating system is up-to-date, as outdated software can sometimes cause compatibility issues.
Finally, a complete reinstall of the ENavFit application can resolve more complex connectivity problems.
Data Synchronization Errors
ENavFit meticulously tracks your fitness and nutrition data, akin to the detailed cataloging of items at Zwiggelaar Auctions B.V., but synchronization issues can occur.
If your data isn’t updating across devices, first ensure a stable internet connection is present.
Force a manual synchronization within the ENavFit app settings; this often resolves minor delays.
Verify that you are logged into the same ENavFit account on all your devices.
Check for sufficient storage space on both your device and within your ENavFit account.
Outdated app versions can cause synchronization conflicts; ensure you’re using the latest release.
Clear the app’s cache and data, but be aware this may temporarily remove offline data.
If using wearable integration, confirm the device is properly paired and syncing with ENavFit.
Contact customer support if errors persist, providing details about the error message and devices used.
Regularly backing up your data can prevent significant loss in case of persistent synchronization failures.
ENavFit Support and Resources
ENavFit provides extensive support, mirroring the detailed catalogs of Zwiggelaar Auctions B.V., ensuring users navigate the platform with ease and confidence.
Access our comprehensive FAQ section for quick answers to common questions and troubleshooting tips.
For personalized assistance, contact our dedicated customer support team via email or in-app chat.
FAQ Section
Q: What data does ENavFit collect, and how is it secured?
ENavFit gathers fitness metrics, nutritional information, and user preferences to personalize your experience, much like Zwiggelaar Auctions B.V. meticulously records auction details. Data is encrypted and stored securely, adhering to strict privacy standards.
Q: Can I export my data from ENavFit?
Yes, you can export your data in a common format (CSV) at any time. This allows you to maintain control over your information, similar to acquiring ownership of a prized item from an auction.
Q: What if I encounter a bug or technical issue?
Please report any bugs or issues through the in-app feedback form. Our development team, working diligently like auction specialists, will address them promptly. Detailed error messages are helpful!
Q: Is ENavFit compatible with all wearable devices?
ENavFit integrates with most popular wearable devices. Check our website for a complete list of compatible devices, mirroring the detailed catalog of items available at auctions.
Q: How often is the workout library updated?
We regularly update the workout library with new content, ensuring a fresh and engaging experience, much like Zwiggelaar Auctions B.V. continually offers new and exciting items.
Contacting Customer Support
Need assistance with ENavFit? Our dedicated support team is here to help, mirroring the expert assistance provided by Zwiggelaar Auctions B.V. regarding their specialized collections.
Email Support: Reach out to us at support@enavfit.com. We aim to respond to all inquiries within 24-48 hours, much like the detailed responses provided about auction items.
In-App Support: Access our in-app help center for immediate answers to common questions. This resource is continually updated, similar to auction catalogs reflecting new acquisitions.
Live Chat: For urgent issues, utilize our live chat feature available during business hours (9 AM ⎼ 5 PM EST). Expect prompt assistance, akin to a specialist’s guidance during an auction.
Phone Support: Call us at +1-555-ENAVFIT (362-8348) for direct assistance. Our team is ready to address your concerns, mirroring the personalized service of an auction house.
Social Media: Connect with us on social media for updates and community support. We actively monitor our channels, similar to tracking auction trends.